
Amigurumi patterns look deceptively simple at first glance, often just a few pages of short, dense lines packed with abbreviations, but that compact format hides a specific logic that takes a bit of orientation to follow confidently. This guide breaks down exactly how amigurumi patterns are structured, complementing our guide on easy amigurumi animals for beginners.
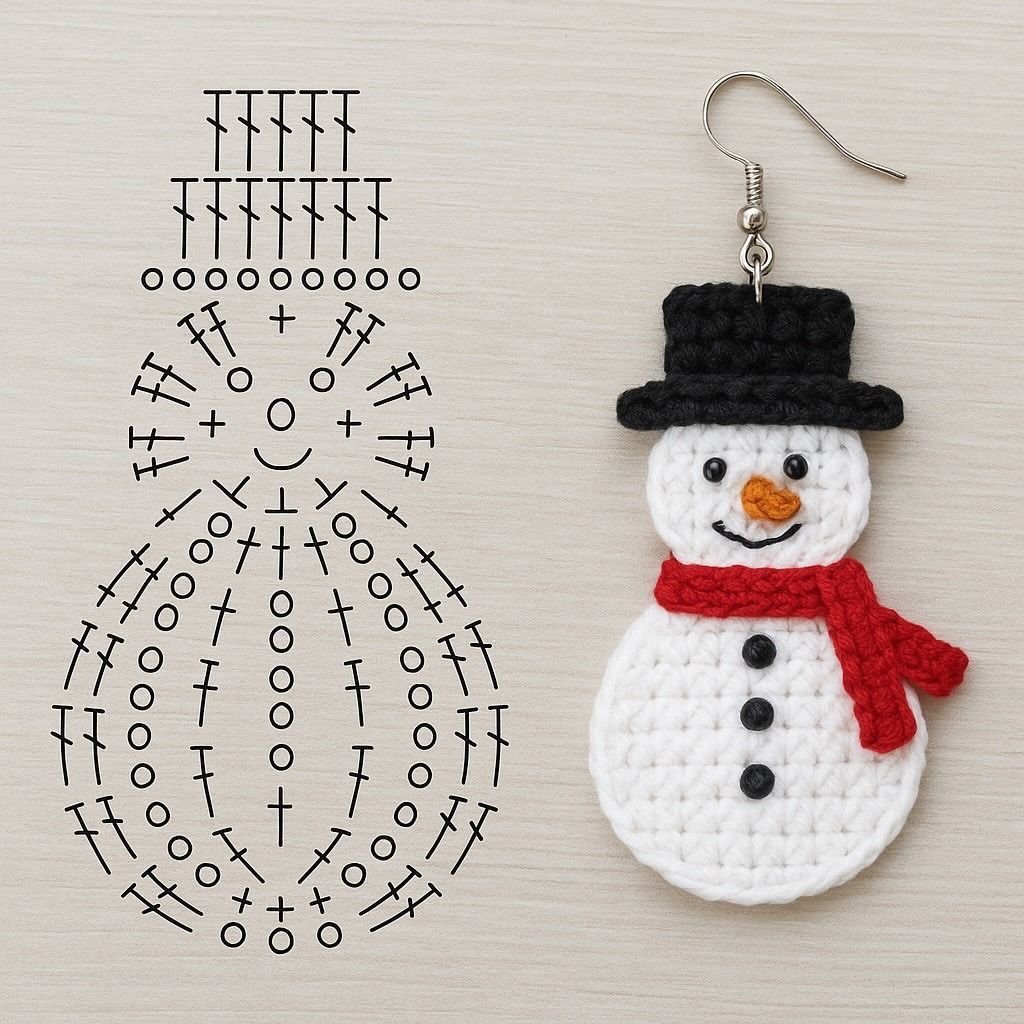
Why Amigurumi Patterns Look Different From Other Crochet Patterns
Unlike a garment or blanket pattern, which is often worked flat in long rows, amigurumi is almost always worked in continuous spiral rounds, which changes how the pattern is written. Rather than row-by-row instructions, amigurumi patterns are structured round-by-round, with each round’s instructions written as a compact repeat instruction followed by a stitch count in parentheses.
The Basic Anatomy of an Amigurumi Round
A typical round looks something like: “Rnd 4: (sc, inc) x6 (24).” Breaking this down: “Rnd 4” tells you which round of the pattern you’re on. The parenthetical instruction “(sc, inc)” describes a repeating sequence, in this case one single crochet followed by one increase. “x6” tells you how many times to repeat that sequence around the round. The final number in parentheses, “(24),” tells you your expected total stitch count once the round is complete.
Understanding the Stitch Count Confirmation
That final number in parentheses at the end of each round is one of the most valuable parts of an amigurumi pattern, since it gives you an immediate way to confirm your work is on track before moving to the next round. Comparing your actual stitch count against this number after every single round, rather than only checking occasionally, catches errors immediately rather than several rounds later when correction becomes more involved.
Reading Increase and Decrease Notation
Increases are typically abbreviated as “inc” and mean working two stitches into the same base stitch, adding one stitch to your total count.
Decreases vary a bit more by pattern, sometimes written as “dec,” “sc2tog,” or “invdec” for an invisible decrease, all generally meaning two stitches are combined into one, reducing your total count by one.
Understanding the specific abbreviation key. Every well-written pattern should include a key defining its specific abbreviations near the beginning, and checking this before diving into the instructions themselves prevents confusion, since not every designer uses identical shorthand for the same technique.
Reading Instructions for Multiple Pieces
Most amigurumi patterns produce several separate pieces, commonly a body, head, arms, legs, and ears, each with its own separate set of round-by-round instructions. Patterns typically clearly label which section of instructions belongs to which piece, and working through one piece fully before moving to the next, rather than jumping between sections, generally keeps things more organized.
Understanding Color Change Instructions
If a pattern includes color changes, it will typically note exactly which round the change happens on, often within the round instruction itself, like “Rnd 8: change to Color B, (sc, dec) x6 (18).” Reading ahead a round or two before starting can help you anticipate an upcoming color change and prepare the new yarn in advance.
Reading Assembly Instructions
Once all individual pieces are complete, most patterns include a separate assembly section describing how to attach the pieces together, where to place safety eyes or embroidered features, and any additional finishing details like a tail or specific stuffing guidance. This section is often written in more conversational, less abbreviated language than the round-by-round instructions, since assembly involves more subjective, visual decisions like feature placement.
Reading Materials and Gauge Notes at the Start
Before the actual instructions, most patterns list required materials (yarn, hook size, safety eyes, stuffing) and sometimes a suggested gauge or finished size, giving you a chance to confirm you have everything needed, following weight categories similar to the Craft Yarn Council’s standard yarn weight system.
Common Mistakes to Avoid
- Skipping the abbreviation key at the start of a pattern, leading to confusion over unfamiliar shorthand later in the instructions.
- Not checking the stitch count confirmation after every round, allowing small errors to compound before they’re caught.
- Confusing which section of instructions belongs to which piece in a multi-piece pattern, especially when sections aren’t clearly separated visually.
- Rushing past color change or assembly notes, missing details that matter for the finished piece’s appearance.
Tips for Better Results
- Read through an entire pattern once before starting to crochet, building a general sense of its structure and any techniques you might need to look up beforehand.
- Highlight or note unfamiliar abbreviations as you first encounter them, building your own quick-reference list for future patterns.
- Check your stitch count against the pattern’s stated number after every single round, treating this as a non-negotiable habit rather than an occasional check.
- Keep the materials list visible while working, confirming you have safety eyes, stuffing, and any other components ready before you reach the assembly stage.
Frequently Asked Questions
Are amigurumi pattern abbreviations standardized across all designers? Core abbreviations like sc, inc, and dec are fairly consistent, but some patterns use designer-specific shorthand for particular techniques, which is why checking each individual pattern’s own abbreviation key matters even for experienced crocheters.
What does it mean if my stitch count doesn’t match the pattern after a round? It typically means a stitch was accidentally added or skipped somewhere in that round, and recounting carefully, then correcting the error before moving forward, is generally easier than continuing and discovering the mismatch several rounds later.
Why do some rounds in a pattern not include a stitch count in parentheses? This usually happens on rounds where the count doesn’t change from the previous round, since the designer may only note the count on rounds where shaping actually occurs, though some patterns note it on every single round regardless.
Is it normal to need to look up an unfamiliar technique mentioned in a pattern? Yes, very normal, especially for beginners. Amigurumi patterns sometimes reference specific techniques, like a particular type of decrease or a specialty join, that are worth looking up individually if you haven’t encountered them before.
Should I read the entire pattern before starting, or is it fine to read as I go? Reading through the entire pattern first is generally recommended, since it helps you understand the overall project scope, spot any unfamiliar techniques in advance, and confirm you have all necessary materials before you’re partway through and discover something missing.