
Stitch markers are one of the cheapest, smallest tools in a crocheter’s kit, and also one of the most consistently underused, especially by beginners who don’t yet realize how much easier they make tracking rounds, counting stitches, and catching mistakes early. This guide covers the different types available and how to build the habit of using them, building on our guide on counting crochet stitches without losing your place.
Why Stitch Markers Matter More Than They Seem To
A stitch marker’s job is simple: mark a specific point in your work so you can find it again later without guessing. That sounds minor until you’re several rounds into a spiral amigurumi piece with no natural stopping point, or trying to remember exactly where a decrease should go in a lace pattern. In both situations, a marker turns a task that relies on memory and careful visual inspection into something almost foolproof.
Types of Stitch Markers
Locking stitch markers. Shaped like small safety pins or clasps, these clip directly onto a stitch and stay firmly in place until you deliberately remove them. They’re the most secure option and work well for marking a point you need to find reliably over many rounds, like the start of a spiral round in amigurumi.
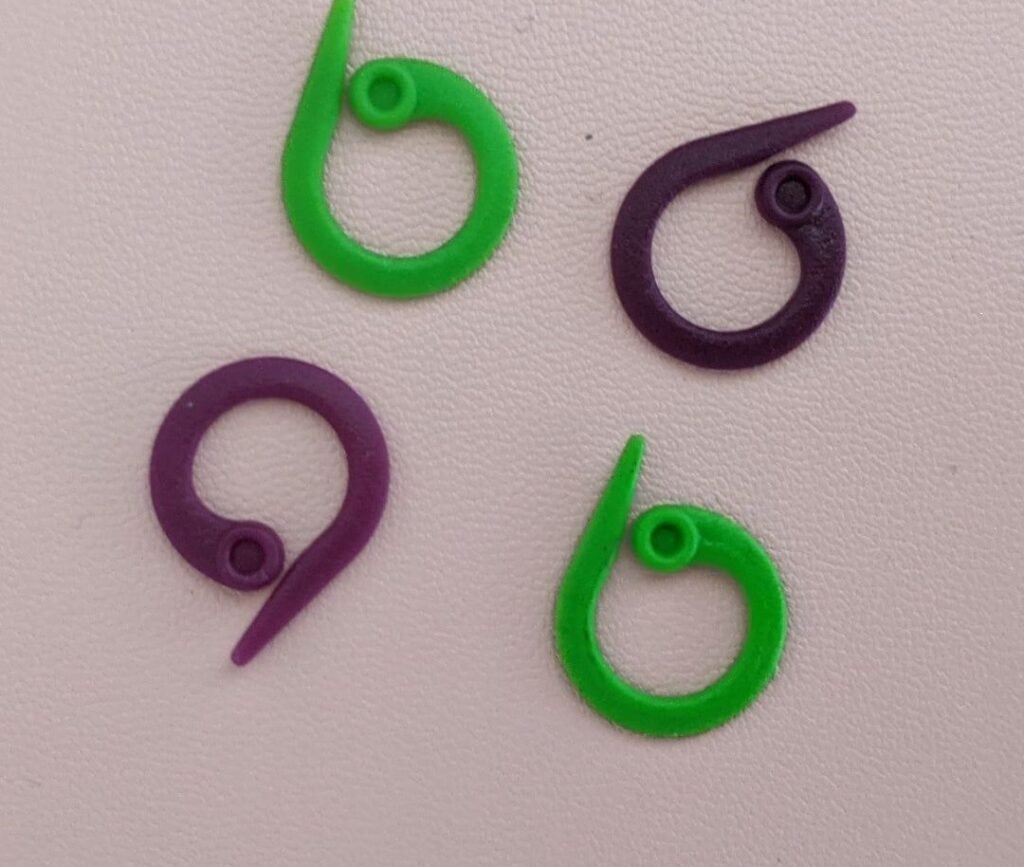
Split-ring markers. Similar to a small keyring, these open enough to slip onto a stitch without needing to thread through the loop, offering a middle ground between security and ease of placement.
Plastic ring markers (non-locking). Simple closed rings that slip over the working loop on your hook, commonly used in knitting but also usable in crochet for marking a position between stitches rather than clipping directly onto one.
Scrap yarn. In a pinch, a short length of contrasting yarn tied loosely around a stitch works as a genuinely free, always-available marker, though it’s slightly more fiddly to place and remove compared to purpose-made markers.
Safety pins. A basic safety pin functions almost identically to a locking stitch marker and is a reasonable substitute if you don’t have dedicated markers on hand.
Choosing Markers for Specific Situations
For marking the start of a spiral round: A locking marker is ideal here, since it needs to stay in place reliably as you work an entire round around it, and you’ll be moving it forward every single round.
For marking increase or decrease points: Small, easy-to-move markers, like split-ring styles, work well since you’ll often be shifting them slightly as shaping progresses.
For marking a specific row for later reference: Scrap yarn tied loosely is often sufficient here, since you’re marking a semi-permanent reference point rather than something you’ll move repeatedly.
For counting in increments across a long row: Small, lightweight markers placed every ten or twenty stitches help break a long count into manageable, quickly verifiable chunks.
How to Actually Use Stitch Markers Effectively
Placing a marker in the stitch itself, not around the yarn strand. For most crochet applications, inserting the marker directly through the top of a stitch (rather than looping it around the working yarn) gives you a precise, unambiguous reference point.
Moving markers as you go, not after the fact. The habit that makes markers genuinely useful is moving them forward as an automatic part of your workflow, immediately after completing a round or row, rather than trying to remember to do it later.
Using multiple colors for multiple purposes. If you need to track both the round start and a specific shaping point simultaneously, using two different marker colors keeps their purposes visually distinct at a glance, a practice consistent with general organizational guidance from the Craft Yarn Council.
When Markers Matter Most
Markers earn their keep most clearly in spiral crochet (where there’s no natural round boundary), in complex lace or textured patterns with specific repeat points, in amigurumi shaping with frequent increases and decreases, and in any long project where losing track of your position would mean a significant amount of counting or unraveling to recover.
Common Mistakes to Avoid
- Using markers inconsistently, placing them for some rounds or rows but not others, which undermines their usefulness as a reliable tracking system.
- Choosing a marker style too flimsy for the task, like a loosely tied scrap of yarn for tracking a spiral round over many stitches.
- Forgetting to move a marker forward, leaving it several rounds behind your actual working position.
- Overlooking markers as a genuinely helpful tool for beginners specifically, assuming they’re only necessary for advanced or complex projects.
Tips for Better Results
- Keep a small container of markers within easy reach while working, so using them becomes a frictionless part of your process rather than an extra step you skip.
- Build the marker-moving habit into the same moment you count your stitches at the end of a round or row, pairing the two actions together.
- Try a few different marker types to find what feels most comfortable to place and remove with your specific hook and yarn combination.
- Don’t hesitate to improvise with scrap yarn or safety pins if you don’t have dedicated markers handy, since the habit matters more than the specific tool.
Frequently Asked Questions
Do I really need stitch markers for simple projects like a basic blanket? For a simple, unshaped project worked flat, markers are less essential, though they can still help if you want to mark row milestones or track pattern repeats. They become far more valuable for anything involving rounds, shaping, or complex repeats.
Can I use the same markers for both knitting and crochet? Many styles work for both crafts, though locking stitch markers are generally more useful for crochet specifically, since crochet often needs a marker that clips directly onto a stitch rather than sitting on a needle between stitches.
Is it bad to use safety pins instead of proper stitch markers? Not at all, safety pins function very similarly to locking stitch markers and are a perfectly reasonable substitute, especially for beginners who don’t want to purchase dedicated markers before knowing whether they’ll use them regularly.
How many stitch markers should I keep in my kit? Having at least eight to ten on hand covers most typical needs, including marking a round start, a few shaping points, and interval counting on a long row, without needing to constantly move a single marker between multiple jobs.
Will using markers slow down my crocheting? Placing and moving markers adds a small amount of time, but it’s generally far less time than what’s needed to recount a miscounted round or unravel and rework a section affected by lost tracking, making markers a net time-saver in most situations.